This homemade gummy candy recipe will bring out the kid in you! Made with a few simple ingredients, these gummies are fun to make and enjoy. Whether you’re using candy molds or cutting fun shapes with cookie cutters, this treat is sure to bring smiles to everyone.
Quick Benefits
- Simple and Quick: With just 10 minutes of prep and 5 minutes of cook time, you can have these gummies ready in no time.
- Low in Calories: At only 15 calories per serving, these gummy candies are a guilt-free treat.
- Customizable: You can use different flavors and molds to create gummies in any shape you like.
- Fun for All Ages: Perfect for kids and adults alike, these gummies bring a nostalgic, playful element to your snack time.
Essential Ingredients
You only need three ingredients to make these delicious gummy candies:
- ½ cup water: This helps dissolve the gelatin and creates the base for the gummies.
- 1 ½ ounces unflavored gelatin: Provides the structure and chewy texture that makes these candies a gummy treat.
- 1 (.6 ounce) package sugar-free fruit-flavored gelatin mix: Adds the fruity flavor and vibrant color to the gummies. You can choose any flavor you like!
Preparation Steps
- Mix Gelatins: Stir the water and both types of gelatin together in a saucepan until a dough-like mixture forms.
- Melt: Warm the mixture over medium heat until the gelatin is completely melted and smooth.
- Pour into Molds: Pour the mixture into candy molds or onto a rimmed baking sheet if you don’t have molds.
- Freeze: Let the gummies cool in the freezer for about 10 minutes, or until firm.
- Unmold or Cut Shapes: Once firm, unmold the candies or use small cookie cutters to create fun shapes.

Health Benefits
While gummy candies are a treat, there are a few health benefits to consider:
- Gelatin: The main ingredient in these gummies is gelatin, which is made from collagen and can support joint health, skin elasticity, and digestive health.
- Low Sugar: These gummies use sugar-free gelatin mix, making them a lower-sugar option compared to traditional gummy candies.
- Protein: Gelatin is also a good source of protein, which is important for maintaining muscle mass and skin health.
However, keep in mind that these gummies are still a candy, so enjoy them in moderation as part of a balanced diet.
Serving Suggestions
- Party Treat: Serve these gummies at a party or gathering as a fun and colorful treat that will surely be a hit with guests of all ages.
- Snack: Keep them on hand as a low-calorie snack to satisfy your sweet tooth without the guilt.
- Add to Desserts: Sprinkle the gummies over ice cream, yogurt, or a fruit salad for a playful twist.
Creative Variations
- Flavor Combinations: Mix different sugar-free gelatin flavors to create a rainbow of gummy candies. You could combine cherry and lime, orange and pineapple, or any other fruity combination you prefer.
- Add a Fun Twist: Try adding small fruit bits like diced strawberries or blueberries to the gelatin mixture before setting it in the molds for an extra burst of flavor and texture.
- Vegan Version: If you prefer a vegan version, you can use agar-agar instead of gelatin. Be sure to follow the package instructions, as agar sets differently than gelatin.
Storage Tips
- Keep in the Fridge: Store your gummy candies in an airtight container in the refrigerator to keep them fresh. They can last for up to a week.
- Freezing Option: For longer storage, you can freeze the gummies. Just make sure to store them in a freezer-safe container or bag, and defrost them in the fridge when ready to eat.
Pro Tips
- Use Silicone Molds: Silicone molds are the easiest to work with when making gummies because they make it simple to pop out the candies once they’ve set.
- Quick Set: To speed up the setting process, place the molds or tray in the freezer instead of the fridge for faster firming.
- Experiment with Colors: Have fun with the colors of the gummies by choosing brightly colored gelatin mixes. You can create rainbow gummies or mix multiple colors into the same mold for a striped effect.
Frequently Asked Questions
1. Can I use regular gelatin instead of unflavored gelatin?
Yes, you can use regular flavored gelatin, but be aware that it will alter the taste and sweetness of the final gummies. Unflavored gelatin is ideal for controlling the texture and allowing the fruit-flavored gelatin mix to shine.
2. How can I make these gummies less sweet?
To reduce the sweetness, you can either reduce the amount of sugar-free gelatin mix or use a no-sugar added version of fruit-flavored gelatin. You can also try using natural fruit juices for added flavor without extra sweetness.
3. Can I use these gummies in other recipes?
Definitely! These homemade gummies can be used in a variety of ways—try mixing them into a trail mix, adding them to party snacks, or even using them as cake or cupcake decorations.
4. Can I use different molds?
Yes, you can use any candy molds you have, or even just pour the mixture onto a baking sheet and cut them into fun shapes with cookie cutters once they’re firm.
This easy gummy candy recipe is perfect for satisfying your sweet tooth with a homemade treat. Get creative and enjoy making these playful, chewy candies!
Print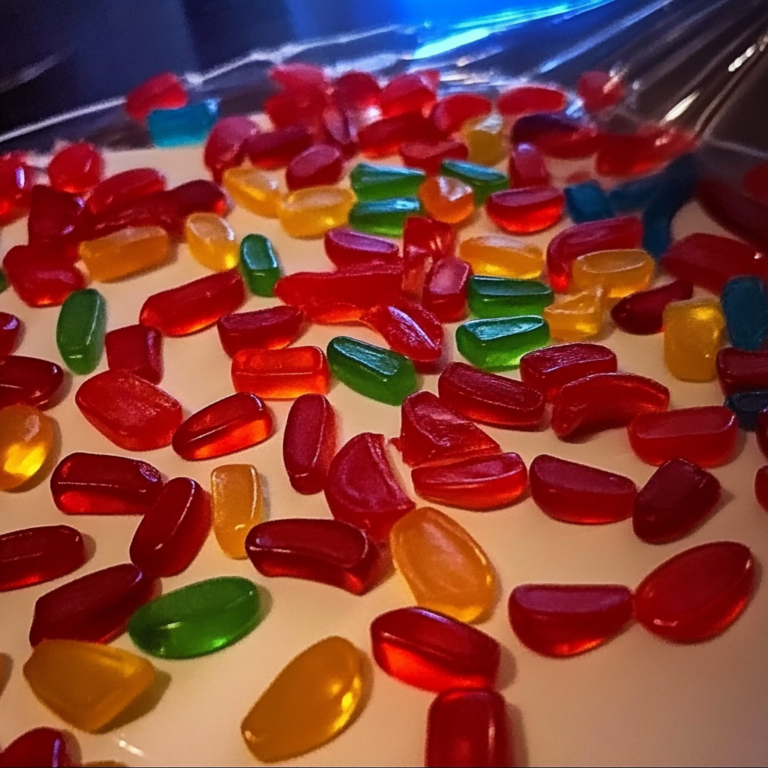
Gummy Candy: A Fun and Flavorful Treat
These homemade gummy candies are a fun and easy treat to make! With just three simple ingredients, you can create chewy, fruity gummies that are perfect for a snack or party treat. Customize the flavors and shapes to suit your preferences, and enjoy these low-calorie candies in no time.
- Total Time: 25 mins
Ingredients
- ½ cup water
- 1 ½ ounces unflavored gelatin
- 1 (.6 ounce) package sugar-free fruit flavored gelatin mix
Instructions
-
Stir water and both gelatins together in a saucepan until a dough forms. Warm over medium heat until melted.
-
Pour mixture into candy molds or onto a rimmed baking sheet. Freeze until firm, about 10 minutes.
-
Unmold candies, or cut shapes with cookie cutters.
- Prep Time: 10 mins
- Cook Time: 5 mins
- Category: Candy
- Cuisine: American
Nutrition
- Serving Size: 12
- Calories: 15 per serving